What you'll need
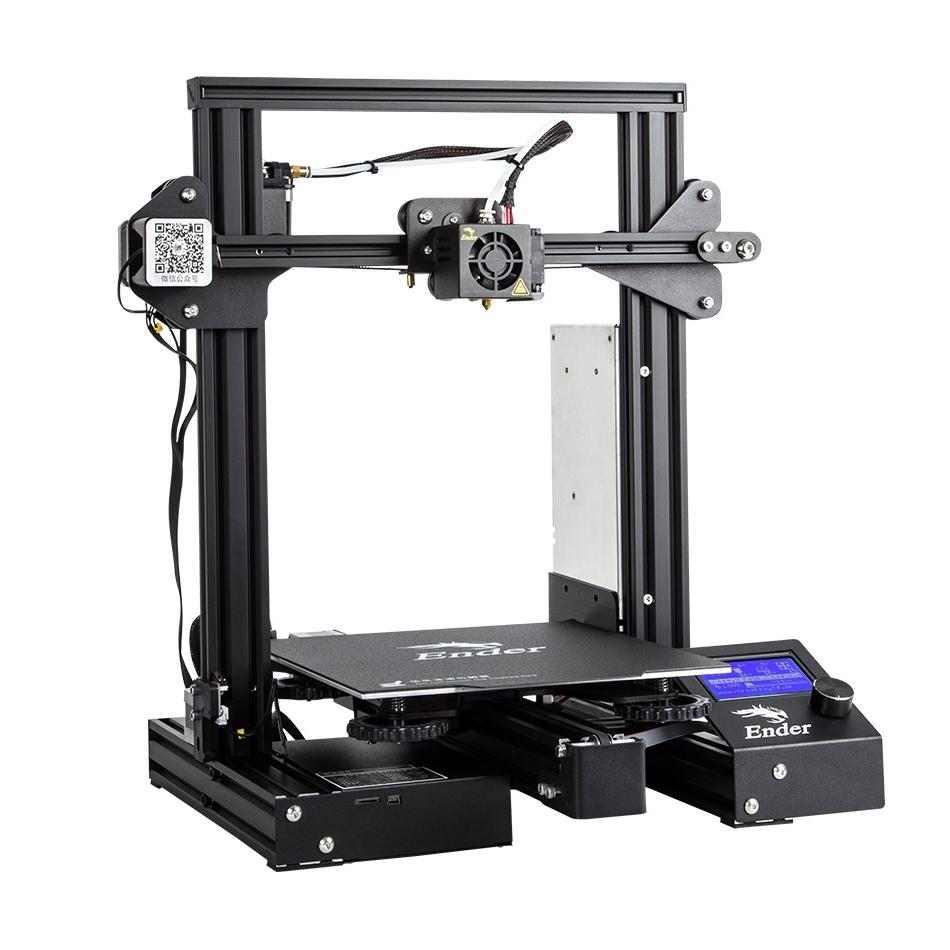
A 3D printer. I did mine with a Creality Ender 3.
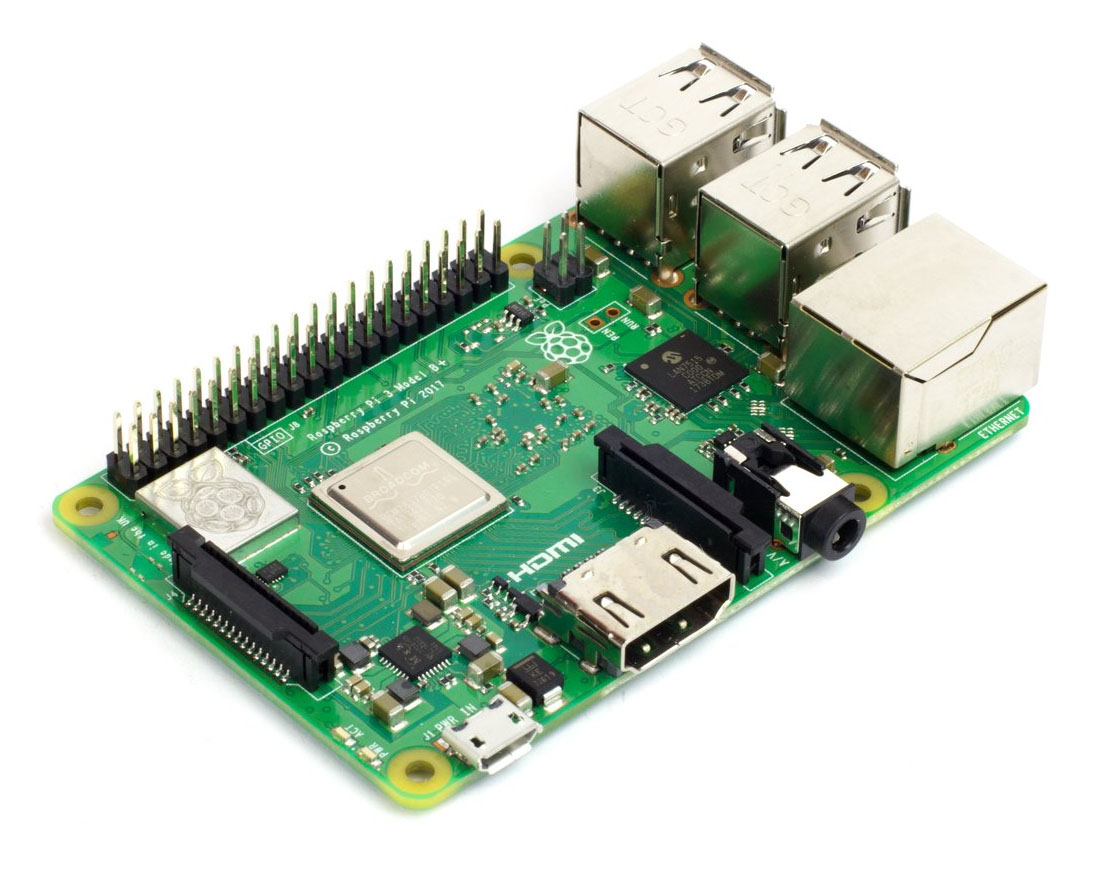
A Raspberry Pi, any of this versions: version 1 model B+, version 2, version 3 or version 4.
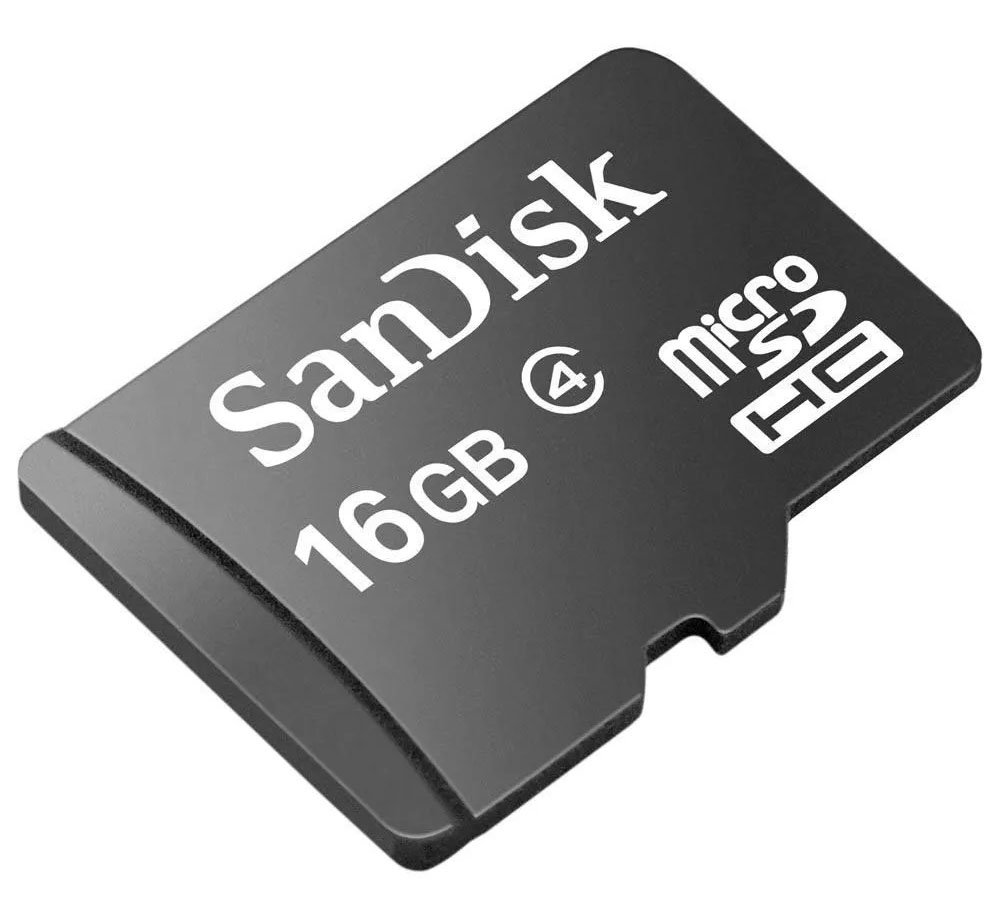
A small SD Card, 16 Gb will be more than enough.
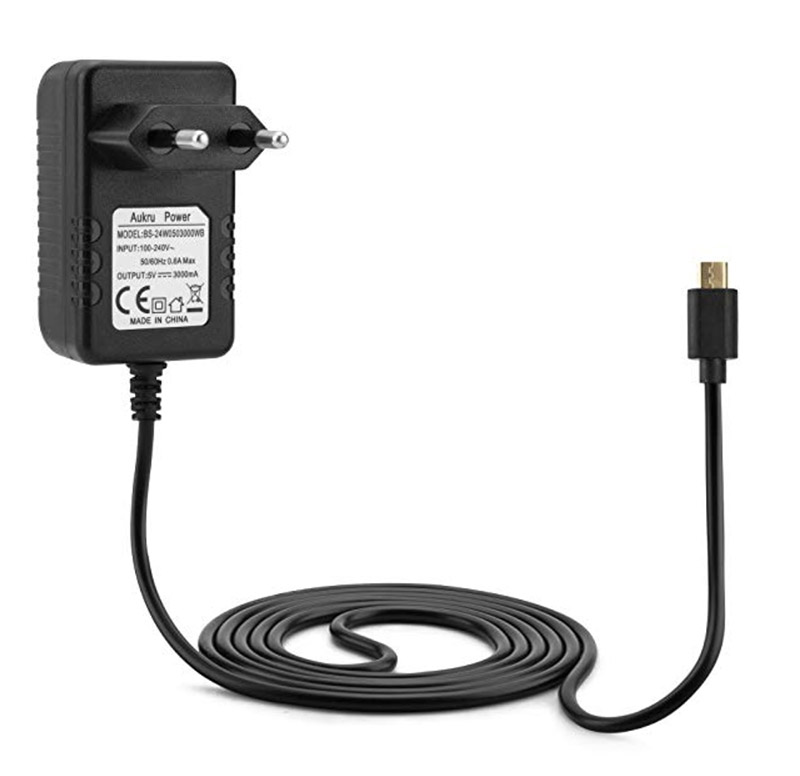
A micro USB power supply with a little more juice than the standard Raspberry Pi one, because we'll be driving a screen too. 3 Amps will be enough, Power supply.
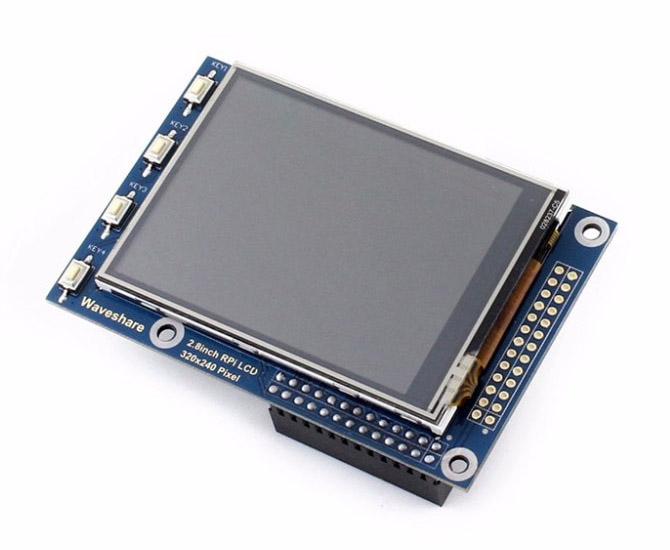
The Waveshare 2,8 inch. screen for Raspberry Pi, the exact model is important here.
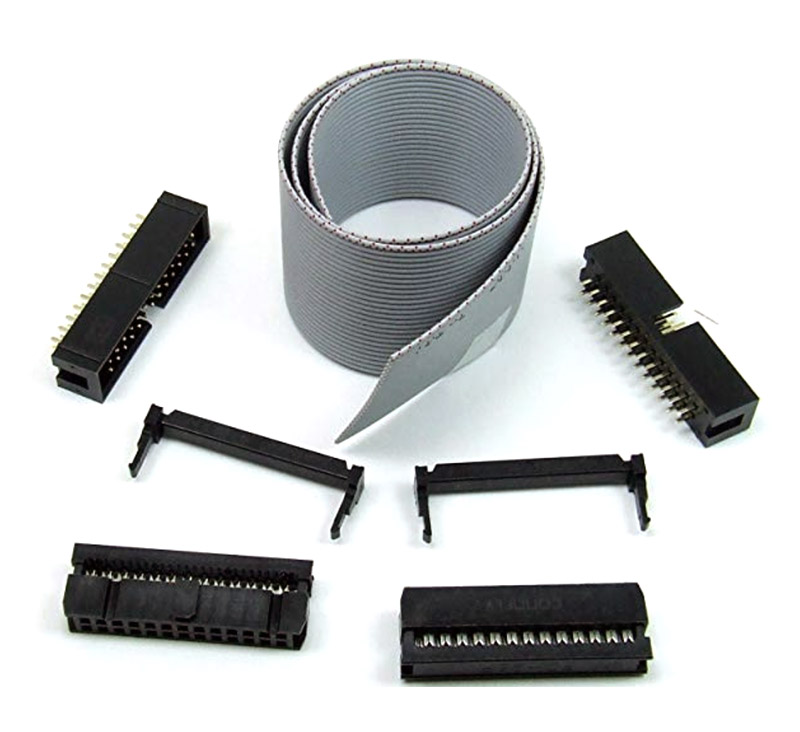
26-lane IDC ribbon cable with connector to connect the screen to the Raspberry Pi.
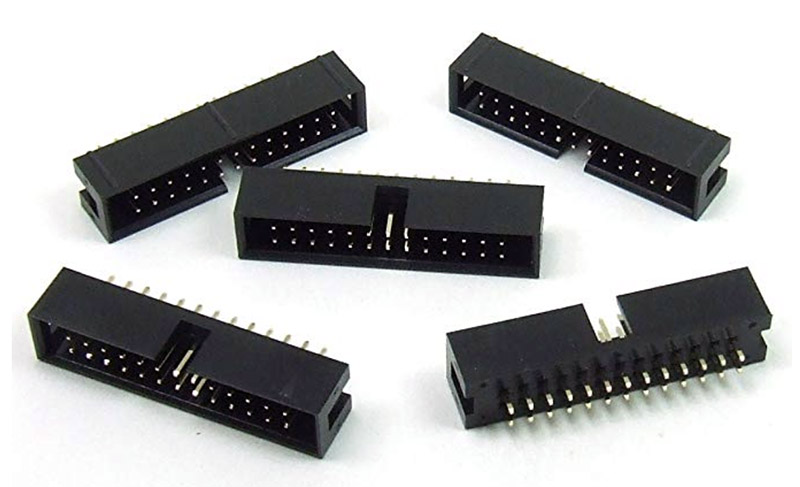
Male IDC 26 pin socket to make it easier to plug and unplug the display.

Some M2.5 screws.
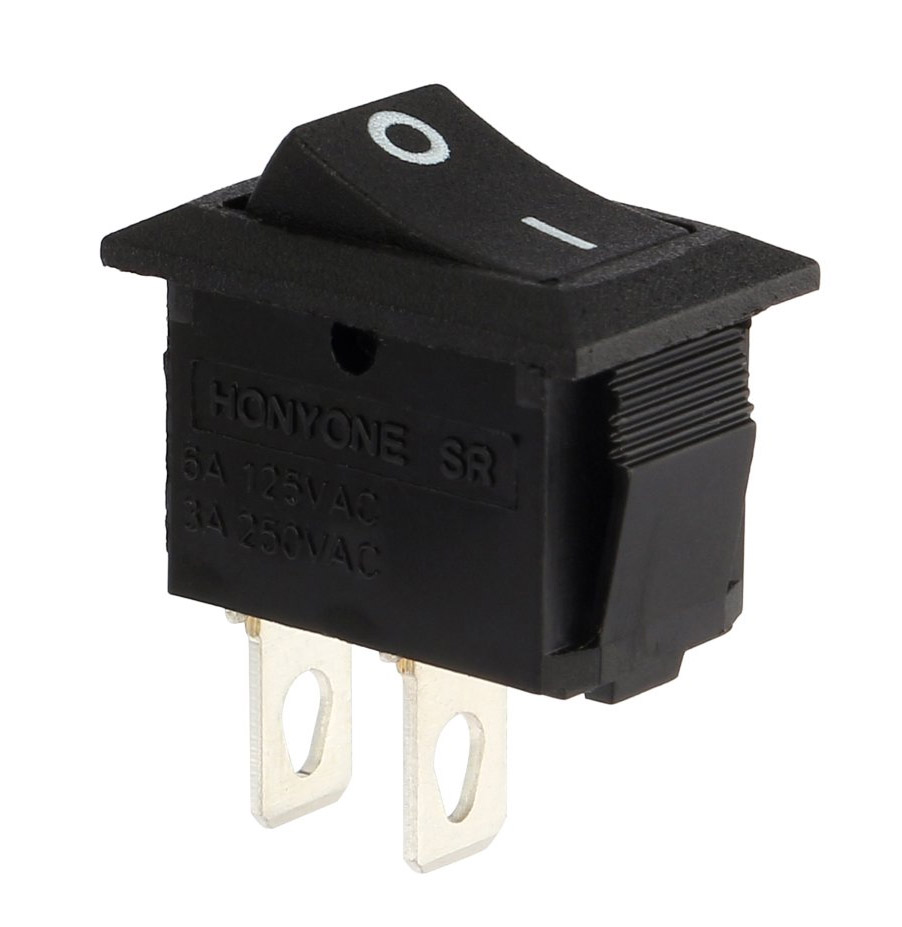
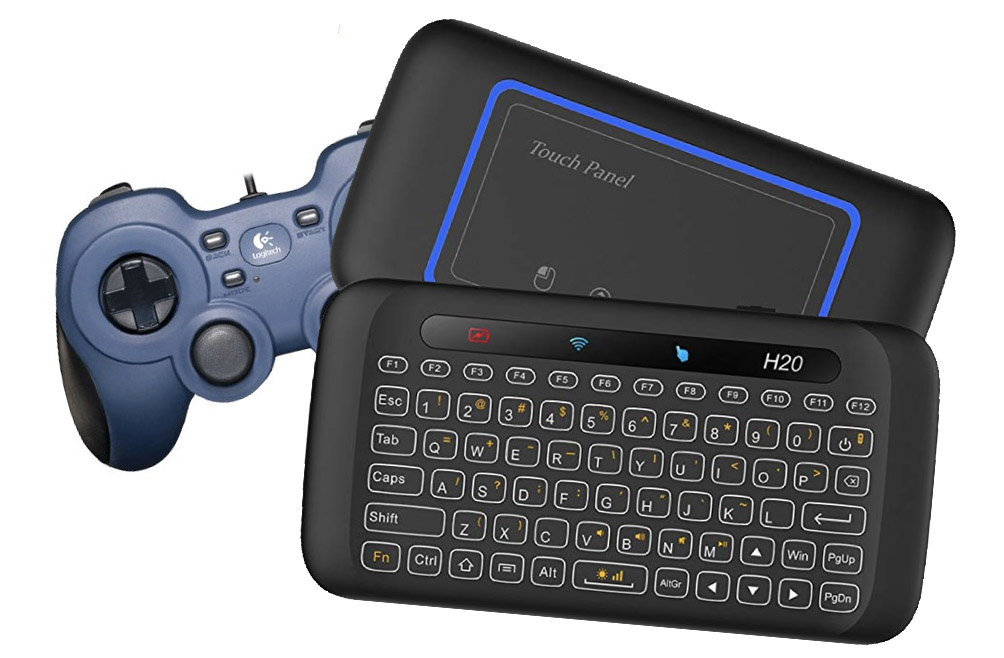
A panel mount switch button that fits the 15x10 mm. rectangular hole in the Base, This Switch fits perfectly.
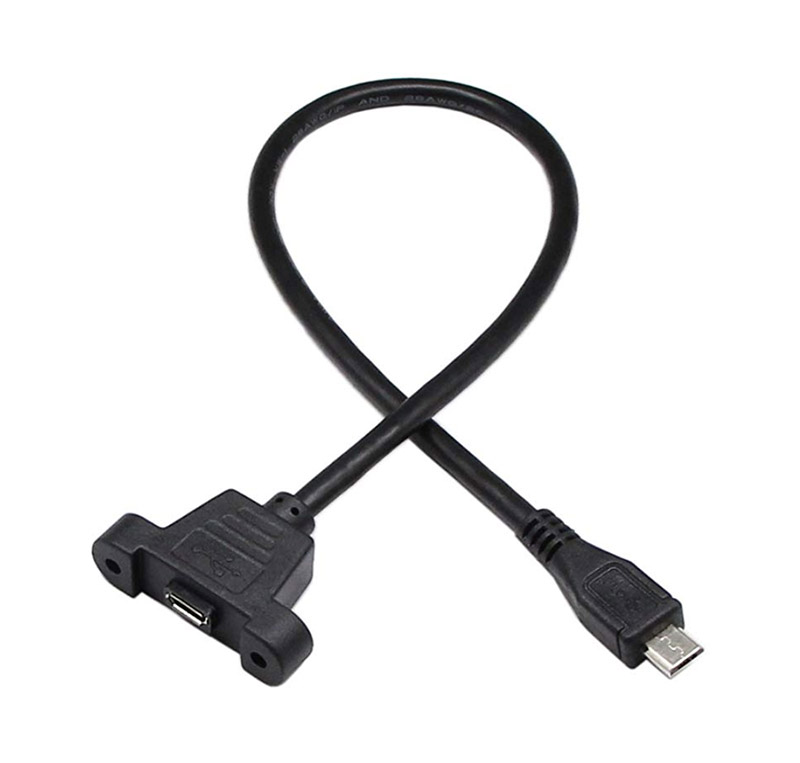
If you'll be using a Raspberry Pi 3 or earlier, you'll need a micro USB cable extender with panel mount. The Base is prepared for one with a 28mm. distance between the mounting screw holes, this USB extender cable fits perfectly. If you're using a Raspberry Pi 4, you'll need an USB-C equivalent of this cable.

Two Tiny round 10 x 2mm magnets for that satisfying clicky sound when it closes.
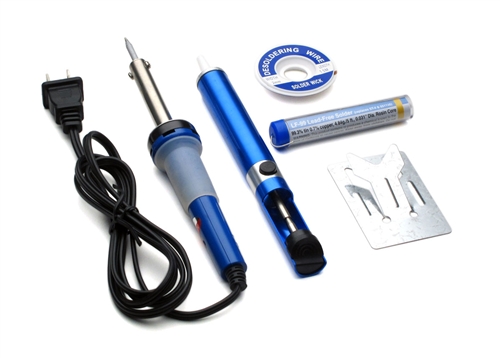
The usual simple soldering stuff, glue and some patience.