Working keyboard
Contributed by David Stephenson from the ZX81 Keyboard Adventure
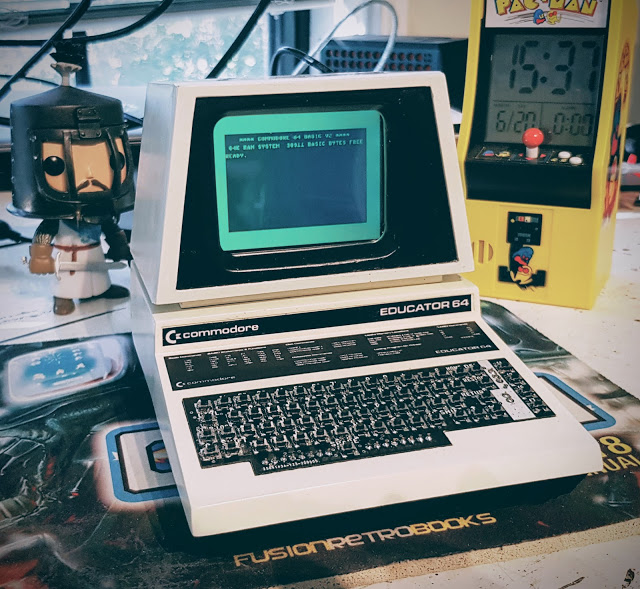
David was frustated when found out that the mini keys of the Commodore PET Mini didn't work. I don't blame him, I also dreamed of creating a mini working keyboard for the PET Mini. The problem was, the keys would need to be so small that a custom-made PCB with micro switches would need to be created, and some way of sending the keystrokes to the Raspberry Pi to make it work.
For a long time this was a dream, until now. Because that's exactly what David Stephenson has done:

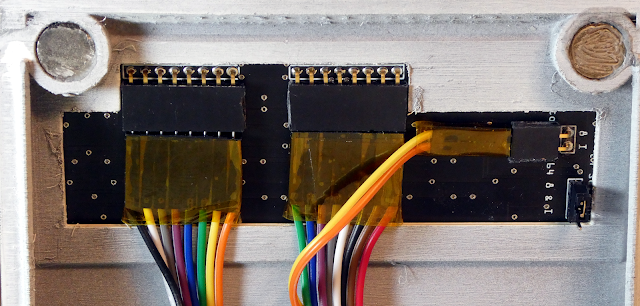
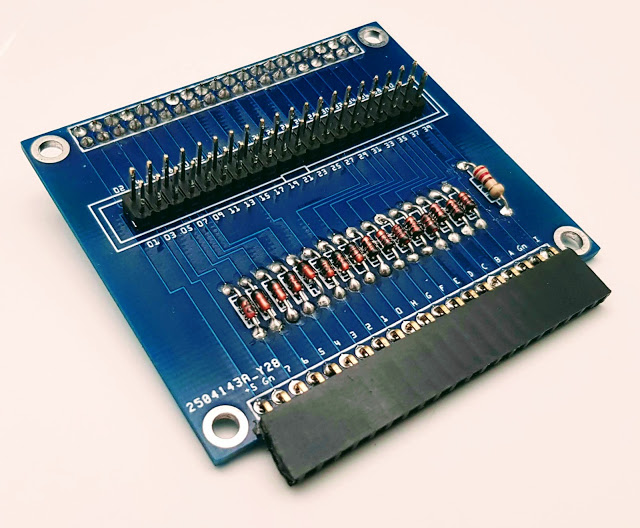
Take a look at the official guide with plenty of information on how to build your own, divided in three parts:
- Commodore Educator 64 Mini: Part 1
- Commodore Educator 64 Mini: Part 2
- Commodore Educator 64 Mini: Part 3
And just like that, thanks to David we now have a really fully working Commodore PET Mini. No more pretending to code in basic by eloquently tapping the fake 3D printed keys!
Now you have no excuse not to learn Basic.